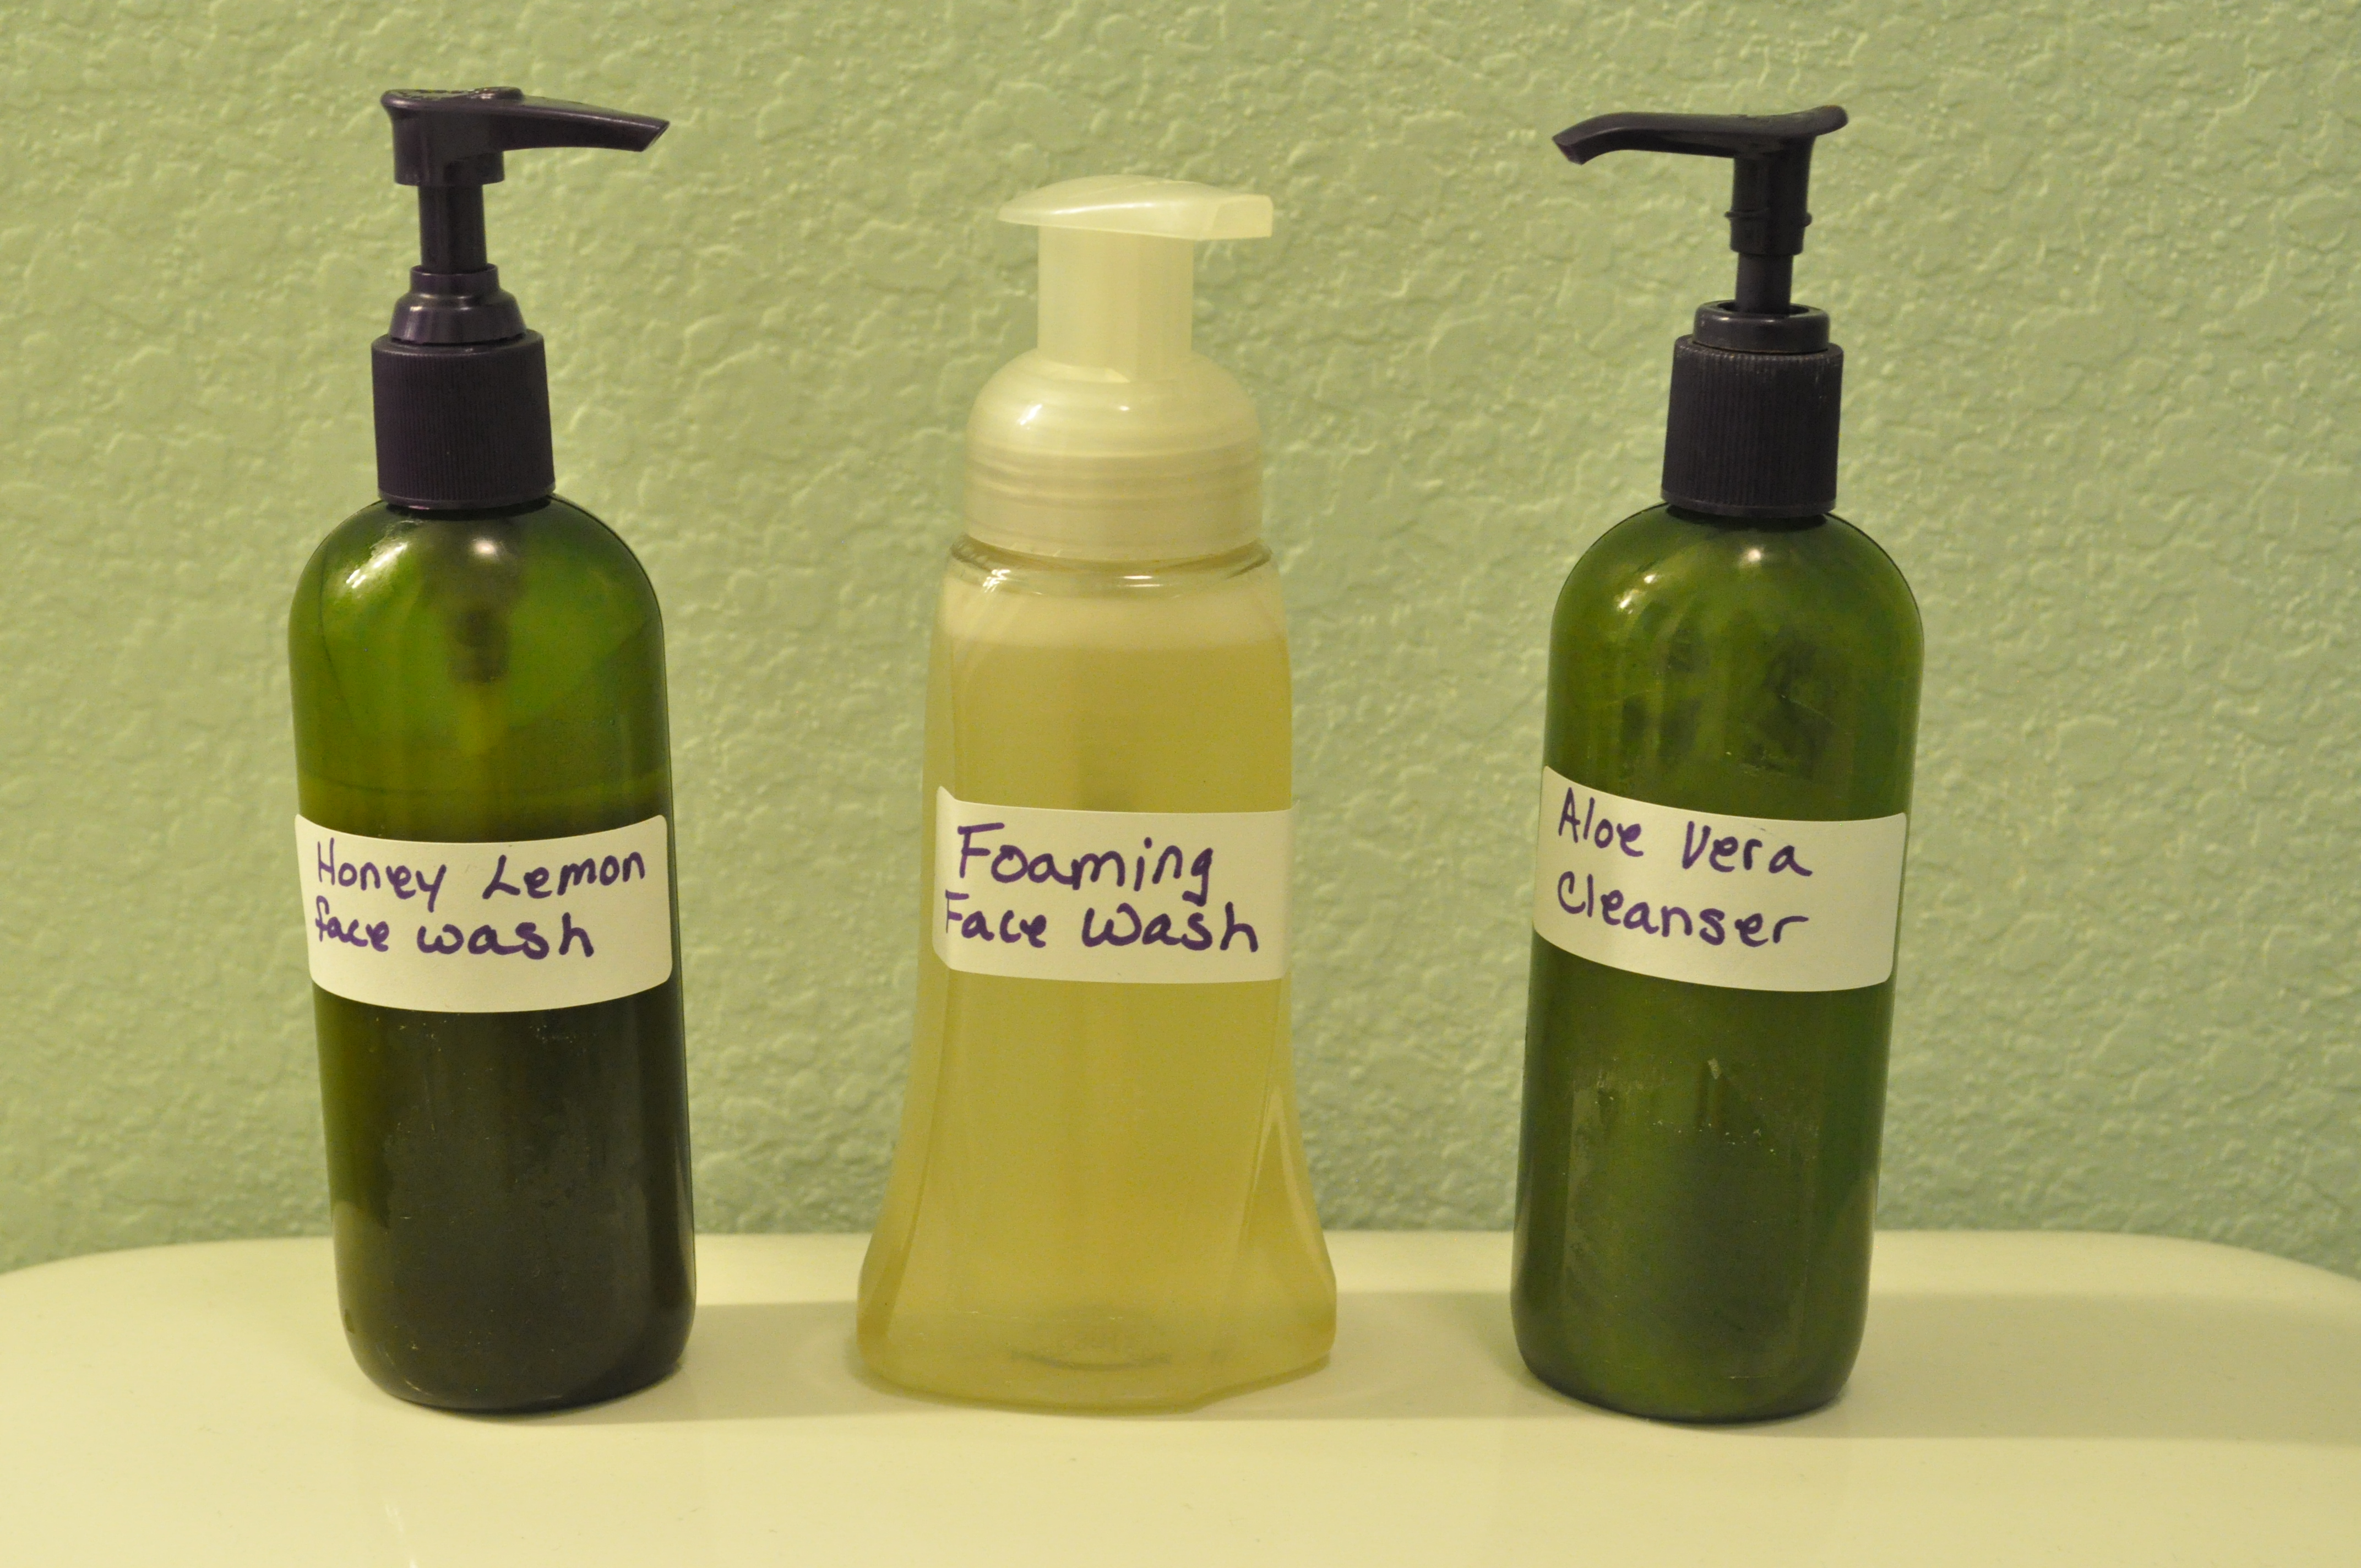
Ramble about this picture. Do you ever visit blogs and see the beautiful pictures posted and wondered how the author ever had a clean surface to display their project on? I’m constantly impressed by the amazing photos on blogs. I mean someone took the time to find a cute bottle, dress it up with some frills or a nice label. My first thought is how do they find the time? I hope I don’t disappoint you, but I don’t have the time or energy to display my products quite so eloquently. You will see that in this picture, I reused bottles and slapped a quick label on them. My clean surface is the tank of a toilet, but hey, it’s white. The product works just the same, I promise. Ramble over.
I’m on a mission to find a homemade face wash that cleans well and gives me great skin. I’ve been using the Clean you face with oil strategy for a month now, and I can’t complain about the job it did. However, I still have black heads and I’d really like to find a face wash that gets rid of, or at least keeps more from forming. I may have to try some more ways to rid my nose of those pesky deposits, but I’m going to see if I can’t find a recipe for face wash that I like.
I’ve enlisted the help of my two teenage daughters. We are each going to try a different face wash for two weeks and see how we like it. We started last night, July 20th, 2015. After two weeks, we might switch so we can each try them all. I’ve pulled these recipes from other blogs so I’ll post the links to them. I’ll also note any changes that we’ve made. I usually tweak recipes, even if it’s just the essential oils used.
I’m going to try the Honey Lemon Face Wash.
Honey Lemon Face Wash
Ingredients:
1/4 C Olive Oil
1/8 C Liquid Castile Soap
1/4 C Honey
1/8 C Organic Lemon Juice
1 Tbsp Apple Cider Vinegar
2 Tbsp Vitamin E oil
10 Drops of essential oils: grapefruit, sweet orange, lemon (optional)
Directions:
Combine all ingredients and blend together with hand blender. Pour ingredients into a a beautiful and convenient bottle (as shown). To use: Pump small amount in hand and lather with water. Wash face with special care to avoid delicate eye area in case essential oils causes irritation. (For eyes, use this recipe.)
Her recipe said not to use it by your eyes, but I’m not using a separate cleaner for my eyes, which happens to be the only place I put makeup. I’ll let you know if I’m sorry that I used this wash by my eyes.
I used 5 drops of Lavender EO and 5 Drops of Frankincense
Update 7-28-15: I’m gong to stop using this face wash. I think it’s burning my face. I was a little leery of using lemon juice in a face wash, but I’m not sure if that is what is burning me or not. My face doesn’t hurt, but it’s bright red. I should mention that I’m a red head and thus have very fair skin. I’m certain this is not sunburn and the only thing I can attribute the red face to is this was. I’ll let you know if it clears up once I stop using it. I’m going to switch to the Aloe vera cleanser. (appropriate)
Here is a picture of my lobster face.

(Yep, it’s a no make-up day)
Here are my observations, in case you still want to try it:
This did not sting my eyes and did a decent job of removing my eye makeup. It left my face feeling a little dry. But I used a moisturizer afterwards and it was fine. If I were to make this again, a big if, I wouldn’t use frankincense in it. The fragrance didn’t go well with the honey and lemon. I use frankincense in my moisturizer, so I get the health benefits in that.
Kammi will use The Aloe Vera Cleanser
I have to admit, this recipe sounds heavenly. That will teach me to let the girls pick first!
Aloe Vera Face Cleaner
5 TB aloe vera gel (or heaping 1/4 cup)
2 TB sweet almond oil
1 TB castile soap (as noted above, skip if dry skin and replace with an extra tb of oil)
20-60 drops Essential oils (20 if you have sensitive skin)*
Directions:
Add aloe vera gel (using funnel) to bottle. Shake to break up chunks. Combine rest of ingredients in bottle. Shake vigorously to mix. (May separate over time so just shake to mix – mine never does separate though).
To use:
Wet face with warm water (too hot and it can actually work against you). Pour a small dollop on your clean fingers rubbing them together. Start at your forehead, working toward your nose then out toward your cheeks and eventually down to your neck. Using a muslin cloth, rinse your face with cooler water to help close pores. Pat dry with clean, unused towel. Voila!
Kammi chose Jasmine EO
Cora will use The Homemade Foaming Face Wash
Homemade Foaming Face Wash for Radiant Skin
Ingredients
- 1/2 tsp sweet almond oil or extra virgin olive oil
- 1/3 cup castile soap
- 10 drops Ylang Ylang essential oil
- 6 drops Patchouli essential oil (Try Frankincense)
- 4 drops Lemongrass essential oil
- 2/3 cup distilled or filtered water
Directions
Pour the castile soap, sweet almond oil (or olive oil) into a foaming soap dispenser (these are the best quality I have seen out there). Add the essential oils and swirl to combine. Fill the container with filtered water and screw on the top. Use daily for radiant skin!
She chose to use the same Essential oils, but substituted Frankincense for Patchouli (I don’t have Patchouli) She also used Almond oil not the olive oil.
We reused bottles that had store bought soap or face wash in them before. Feel free to purchase new bottles if you like. You can take the time to get fancy with your labels.
Update 8-9-15: After using the face wash for 20 days.
Here is what we thought of the face washes.
Kammi and Cora had just gotten home from a missions trip and had a decent acne break out happening. Both of their faces cleared up quickly, although that was also helped by their diet at home too. They have not either one had another break out.
Cora- used The Homemade Foaming Face Wash-
She really likes this face wash. It goes on easy and comes off easy. It feels great, smells great, and works well. Her face felt moisturized right after washing. She still applied a moisturizer afterwards. Her black heads are reduced since using it too. She’s going to try the Aloe Vera face ash and see how she likes it.
Kammi- used The Aloe Vera Face Cleanser-
She said it was okay. She felt like it gave her more acne than usual, this is not what I observed. It was easy to use, smelled good, and cleaned well. Her face felt moisturized afterwards. She didn’t use moisturizer afterwards and claims that I never told her to. Maybe I didn’t. She’s going to try the foaming face wash and see if she likes that better.
Me- Aloe Vera Face Cleanser-
See up date above about the Honey Lemon face wash.
I like this face wash. It’s milky. I loved the smell, feel and moisturizing quality of this wash. I’m not wild about all of the preservatives in the Aloe Vera, so I might see if I can find a better Aloe to use. It cleans well and leaves my face smooth. No improvement on my black heads, but I’ve not used this wash very long and I think a face wash might not be the answer to that problem. I’m going to keep using this for a while and then try the Foaming face wash.
I hope this helps and inspires you to make your own face wash and give it a whirl.

Very good so far. I enjoyed reading this and I love that you include the recipe.
LikeLike
I love your clean surface!
LikeLike